As a starter project, let’s explore transforming 2D shapes into 3D forms in two different ways: by paper modeling and by digital sculpting using Sculpris software.

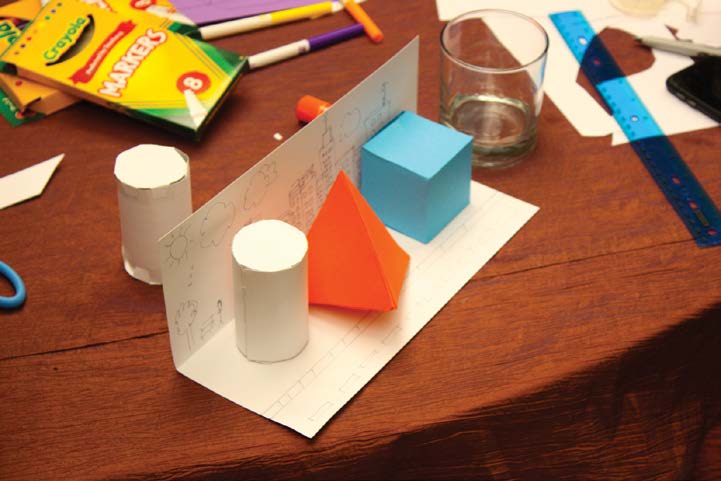
Before you begin the project, a quick intro activity could help campers to start thinking about 2D shapes and 3D forms. Campers will use flat patterns called 2D nets to make 3D forms such as a pyramid, a cube, and a cylinder.
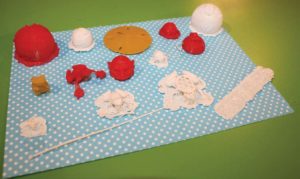
For the first project, you can make either a paper sculpture or a clay sculpture.

2D to 3D Demo:
You can also share an example that shows how a 2D drawing can lead to a 3D sculpture
For example, you can show
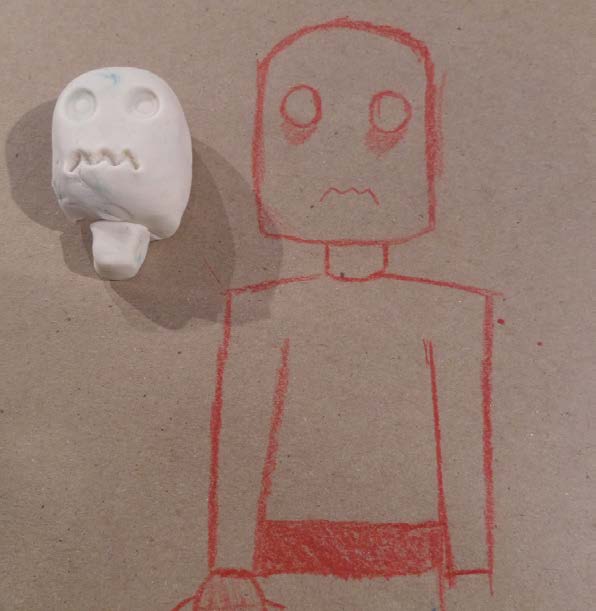
Begin by having each camper choose what type of animal or character they would like to make. You can provide pictures of animals or creatures (such as a cat face or a fish). Give the makers the choice of using one of those characters or one of their own drawings.
Encourage them to identify and break down their image into basic shapes. For example, a cube or an octagon can be used for a head, a cylinder can be used for an arm, and pyramids can be used for ears or noses.
Ask the makers to design a 2D net based on their image.
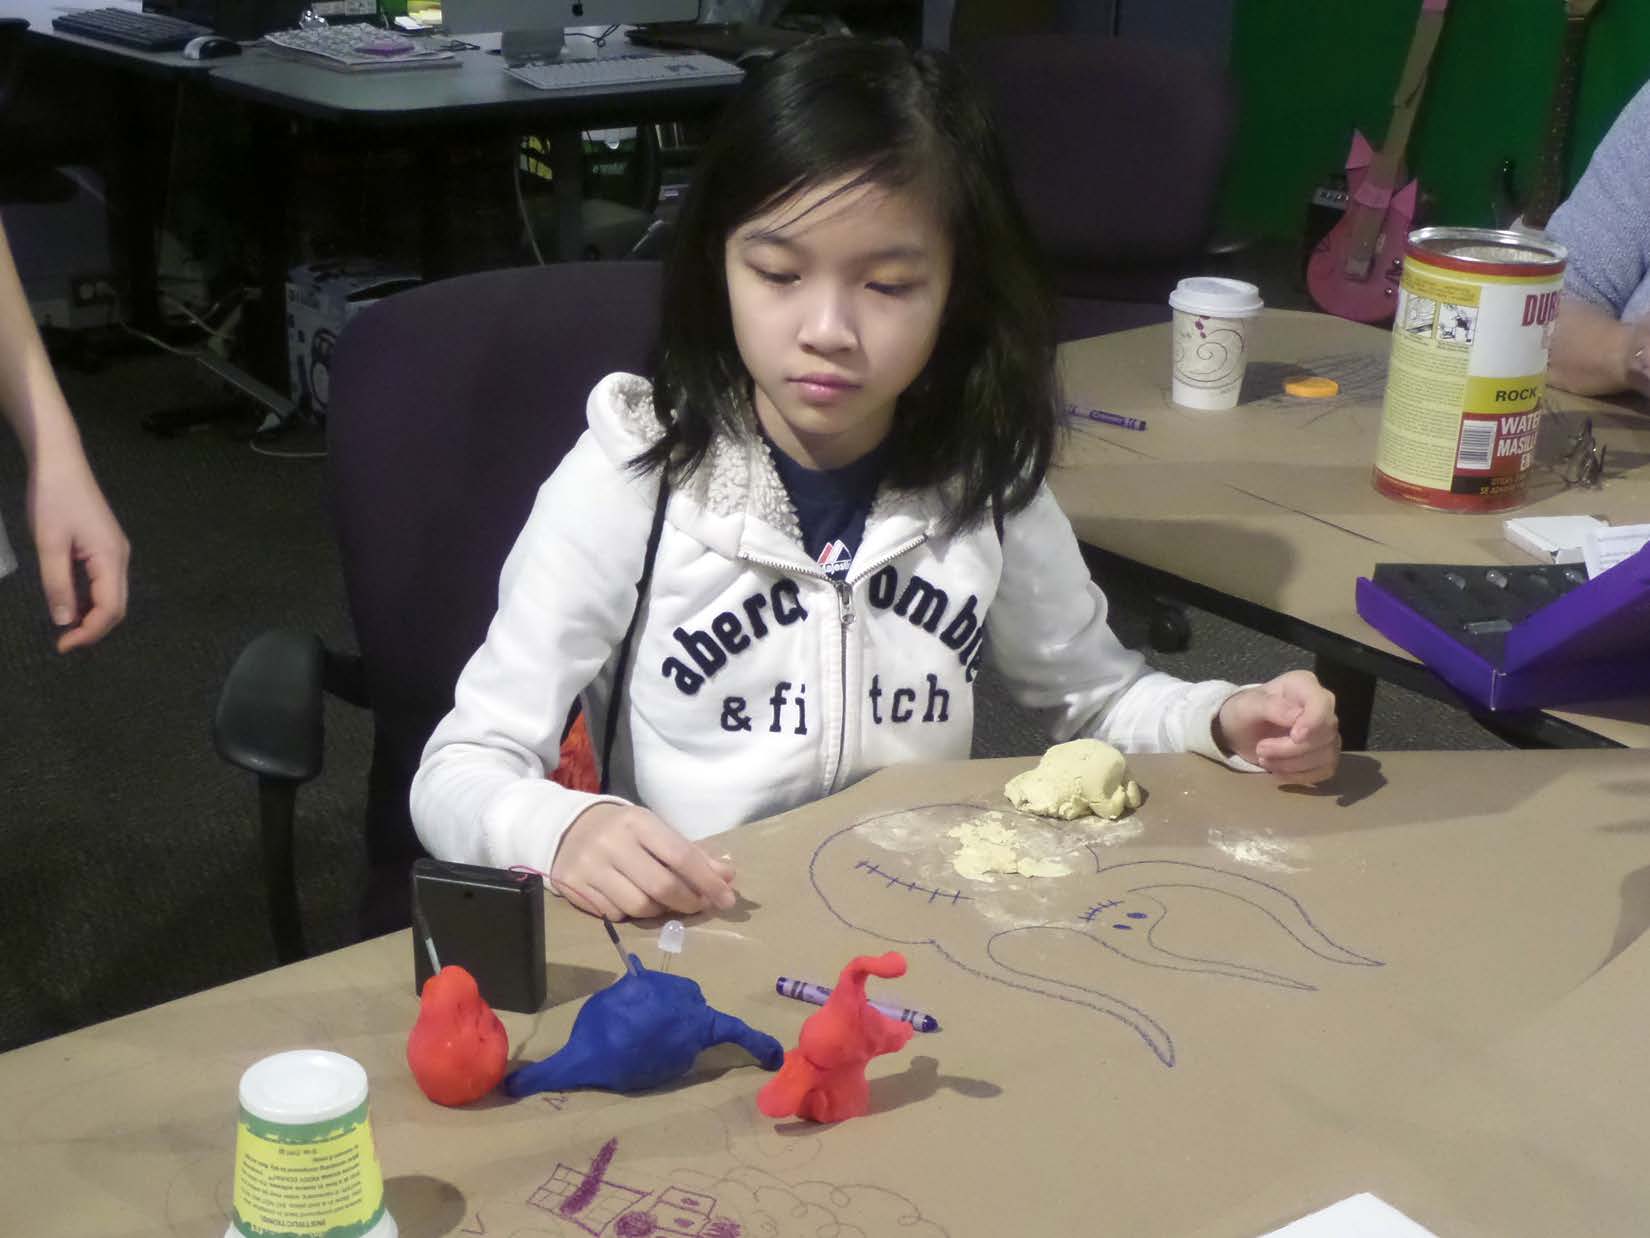
If you are planning to engage the campers in digital sculpting, start by using modeling clay.
Encourage them to experiment with sculpting tools using clay.
Ask the makers to identify basic forms in their clay model, such as cones, cylinders, pyramids, spheres, and cubes.
Digital Sculpting
An inviting way to get started with 3D modeling is through digital sculpting that is, forming a 3D shape by modeling it like clay.
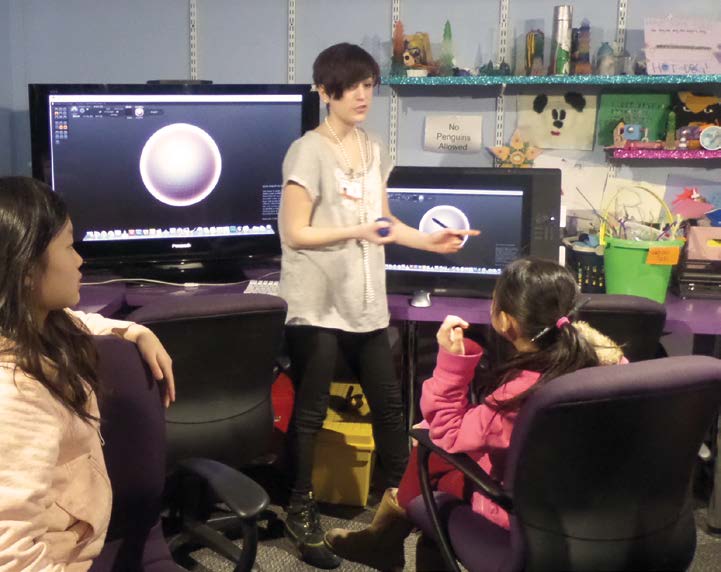
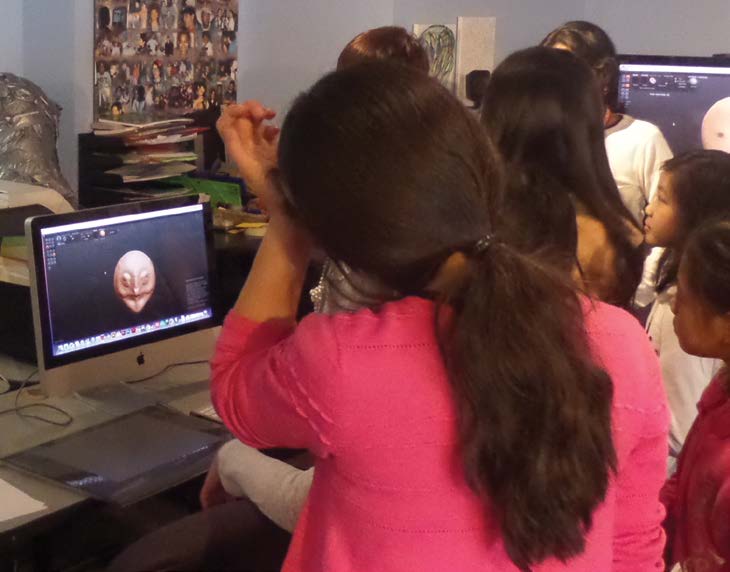
Introduce Sculptris Software: Have all the makers gather near a computer screen and introduce Sculptris software. First, show an example project. Then, start a new, blank Sculptris file. Show how you can shape the virtual clay using different tools. Point out the key features (primary brush tools like “pull” and “pinch”). Pick up a clay form and show how surfaces change when you pinch and pull the clay.
Make: Makers can look at their paper or clay models for inspiration. Ask them to think about the key shapes that make up the parts of their characters. They then can start making figures using the Sculptris tools to draw or shape features.
View: After makers have had some time to experiment, show them how to zoom in and toggle the wireframe on and off; point out all the triangles that fit together to make the features they just pulled and pinched. It’s geometry at work!
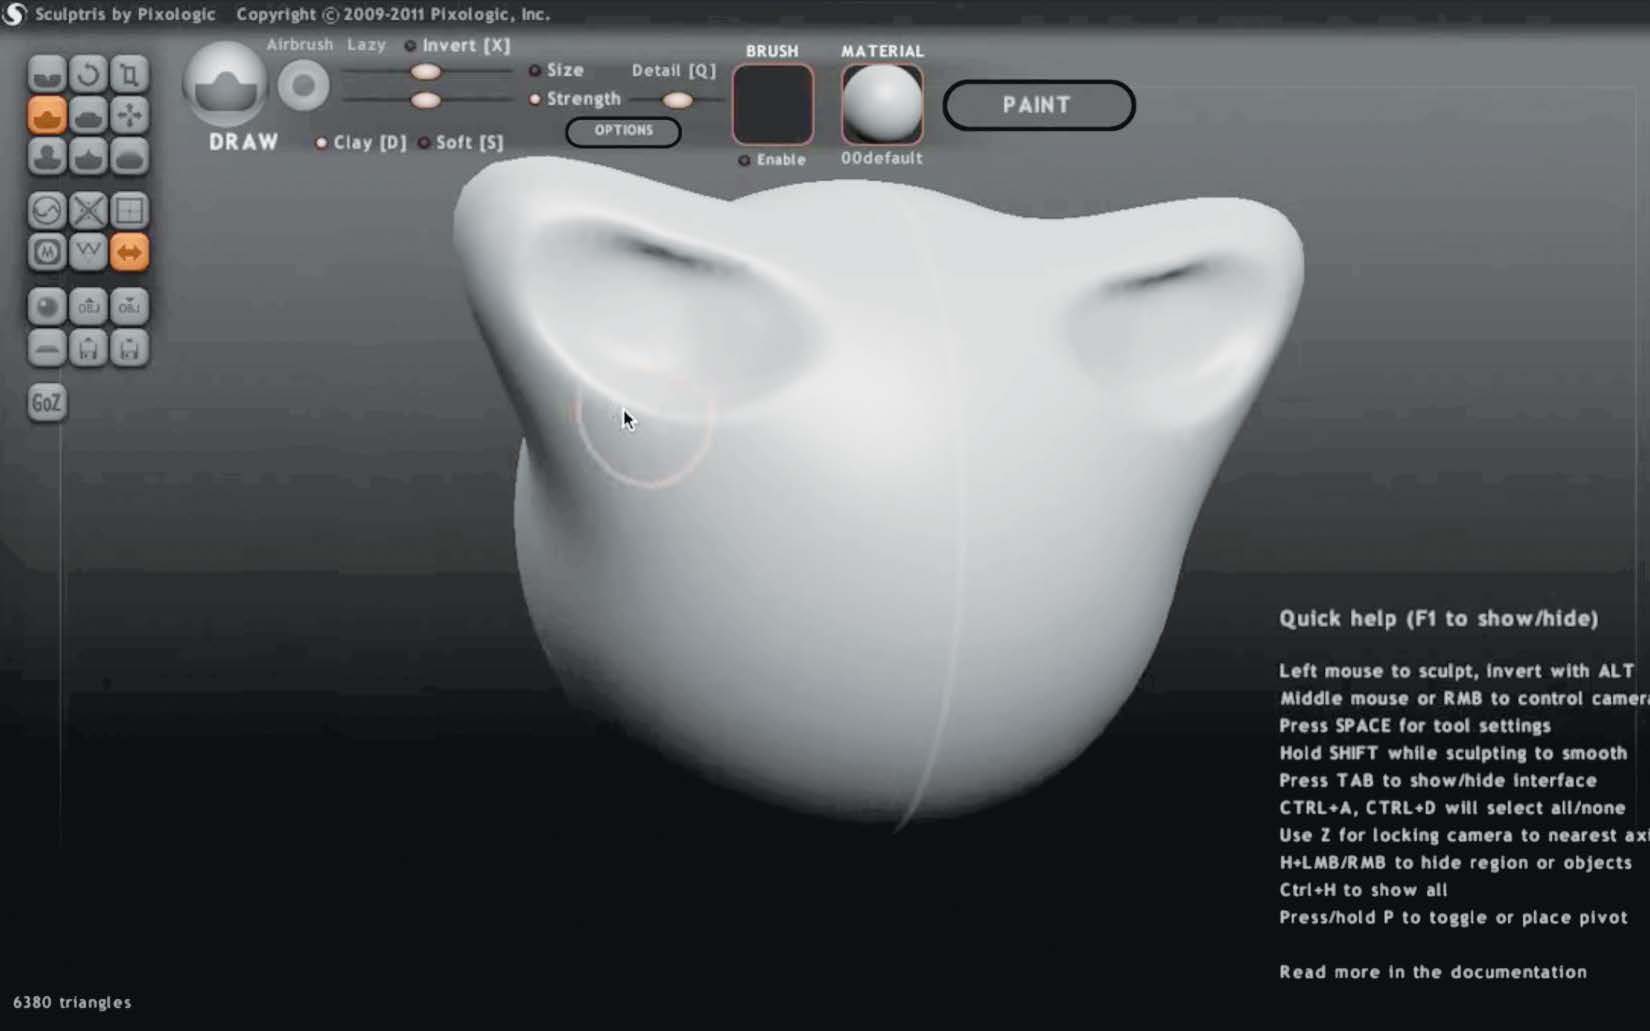
Enhance: Show makers how to manipulate the forms using other Sculptris tools, including selecting, moving, rotating, and scaling.
3D Print If you have access to a 3D printer, you can walk makers through the steps to convert their 3D models into printed form. If you do not have access to 3D printers, 3D printing services, such as Shapeways (shapeways.com), allow you to upload 3D files and get them printed.
Sculptris imports and exports .OBJ files. You’ll need to convert to other formats, such as .STL files, to output to a 3D printer. To convert your Sculptris file, use a plug-in or conversion software, such as Meshmixer (meshmixer.com), to make it compatible with the make and model of the 3D printer. Make sure everything is connected and the model has no holes in it. You can make multiple prints of your design in different sizes and using different printing materials.
Encourage campers to take time to reflect on the process of creating 3D projects from 2D paper.
You can ask the following:
Please Note
Your safety is your own responsibility, including proper use of equipment and safety gear, and determining whether you have adequate skill and experience. Power tools, electricity, and other resources used for these projects are dangerous, unless used properly and with adequate precautions, including safety gear and adult supervision. Some illustrative photos do not depict safety precautions or equipment, in order to show the project steps more clearly. Use of the instructions and suggestions found in Maker Camp is at your own risk. Maker Media, Inc., disclaims all responsibility for any resulting damage, injury, or expense.

Share pictures and videos of your cool build! Be sure to use #makercamp
POST YOUR PROJECTS


