
For our starter paper circuits project, let’s design a light-up greeting card.
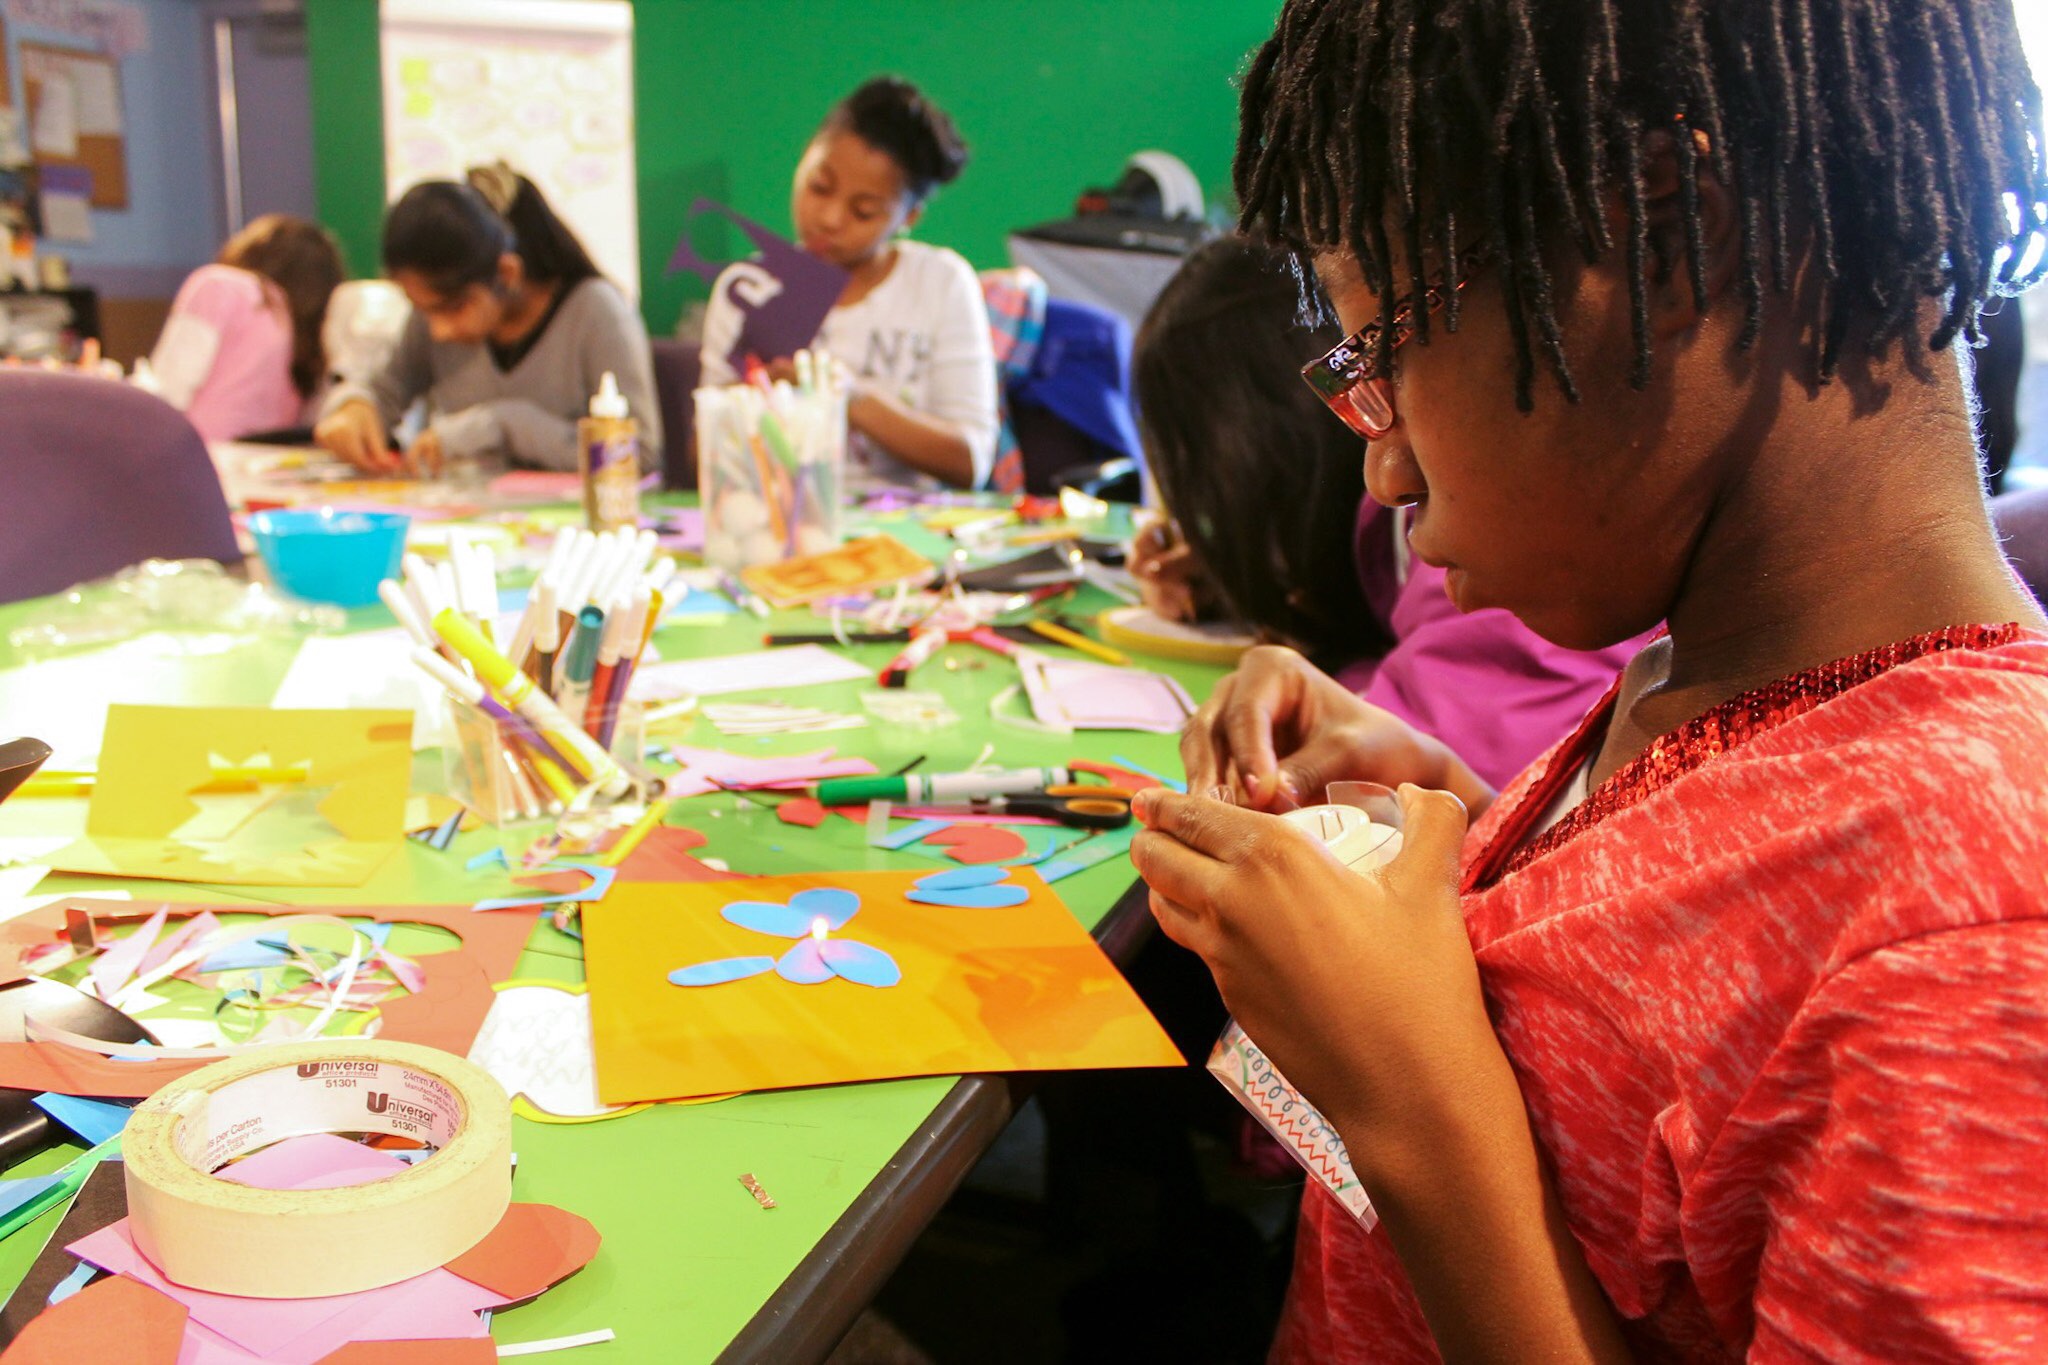

 Explore how to make a simple circuit that lights up an LED on a piece of paper. To begin, give one LED light and a battery to the campers. Encourage them to explore the look and feel of these materials and share what they notice. Then, ask them to try to make the LED light up.
Notice that the battery has a symbol on each side. One side has a plus (+) sign,which stands for the positive terminal. The other side has a minus (–) sign, which stands for the negative terminal. The LED also has positive and negative terminals. The longer leg is positive and the shorter one is negative.
To make the LED light up, connect the negative side of the battery to the negative leg of the LED and the positive side of the battery to the positive leg of the LED.

 You may want to try starting with very little instruction. Allow the makers to jump in and try to make it work. Moments of “failure”—when things aren’t working as expected—can present you with opportunities to encourage persistence and allow makers to practice problem solving.
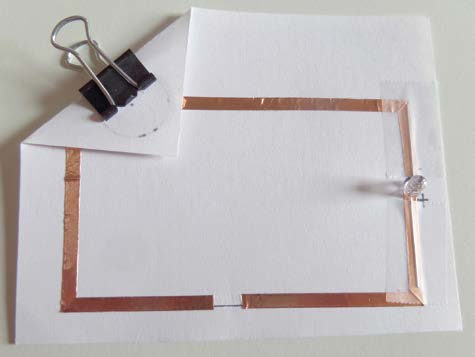
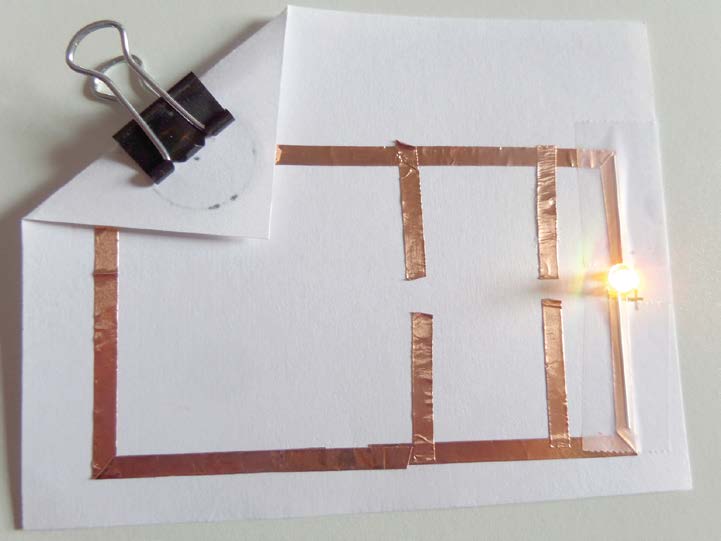
Once everyone is able to make their LED light up, introduce this basic layout that they can use to make their circuit on paper. You can hand out printed copies, or you can draw the diagram on a board for everyone to refer to when they are making their own.
*Safety Tip: The edges of the copper tape are sharp, so be careful not to cut your fingers!
Below are the steps for making the paper circuits, which you can use to help guide the makers.
Take a piece of paper and on it, place copper tape so it follows the lines in the diagram. To make turns, tape until you reach the corner where you want to turn. Then, fold the tape to turn the corner.
An electrical circuit is a path on which electricity flows.
Your circuit has several basic parts:
Take the LED and spread the legs so that they are sticking out to each side. Place the LED on top of the copper tape, so the legs touch the tape. Then secure them in place with clear tape.
Place the battery negative (–) side down, where the circle with the (–) sign is. It should touch the copper tape. Next, fold over the corner of the paper so that the tape going to the positive (+) circle touches the battery. Your light should turn on.
Use a binder clip to hold the circuit in place. If the light doesn’t turn on, check that the copper tape is running to both sides of the battery and the LED with no breaks, and that the two tape lines don’t touch each other.
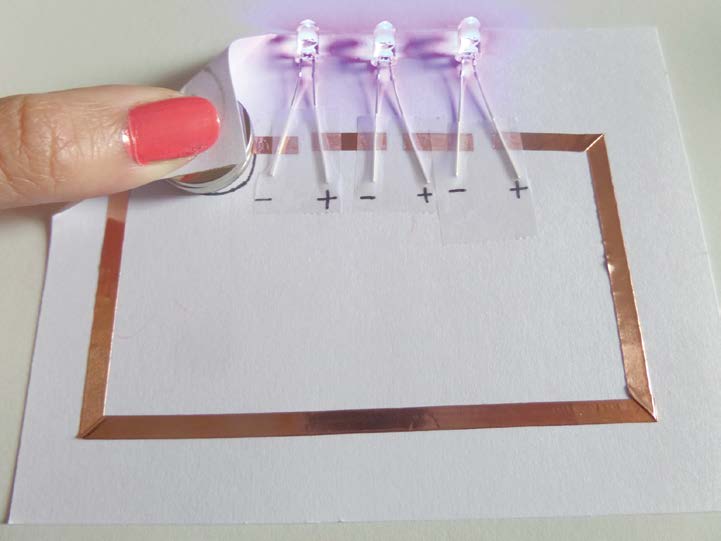
You can show examples of other types of circuits, such as a circuit with a switch or more than one light.
Adding switches:
To add a switch, make a break in the circuit by removing a piece of the copper tape. Then, add a way to connect the two parts with something conductive, such as by putting a piece of foil on your finger or by adding a flap of paper with copper tape on it.
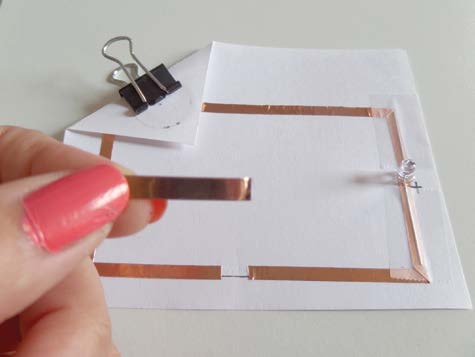
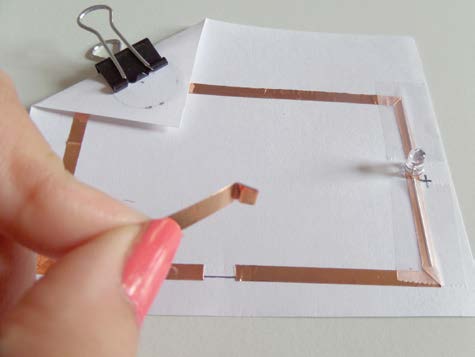
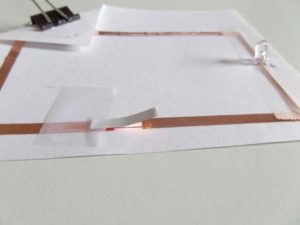

Adding a switch to a circuit
If you want to add more lights to a circuit, you can connect them in two different ways:
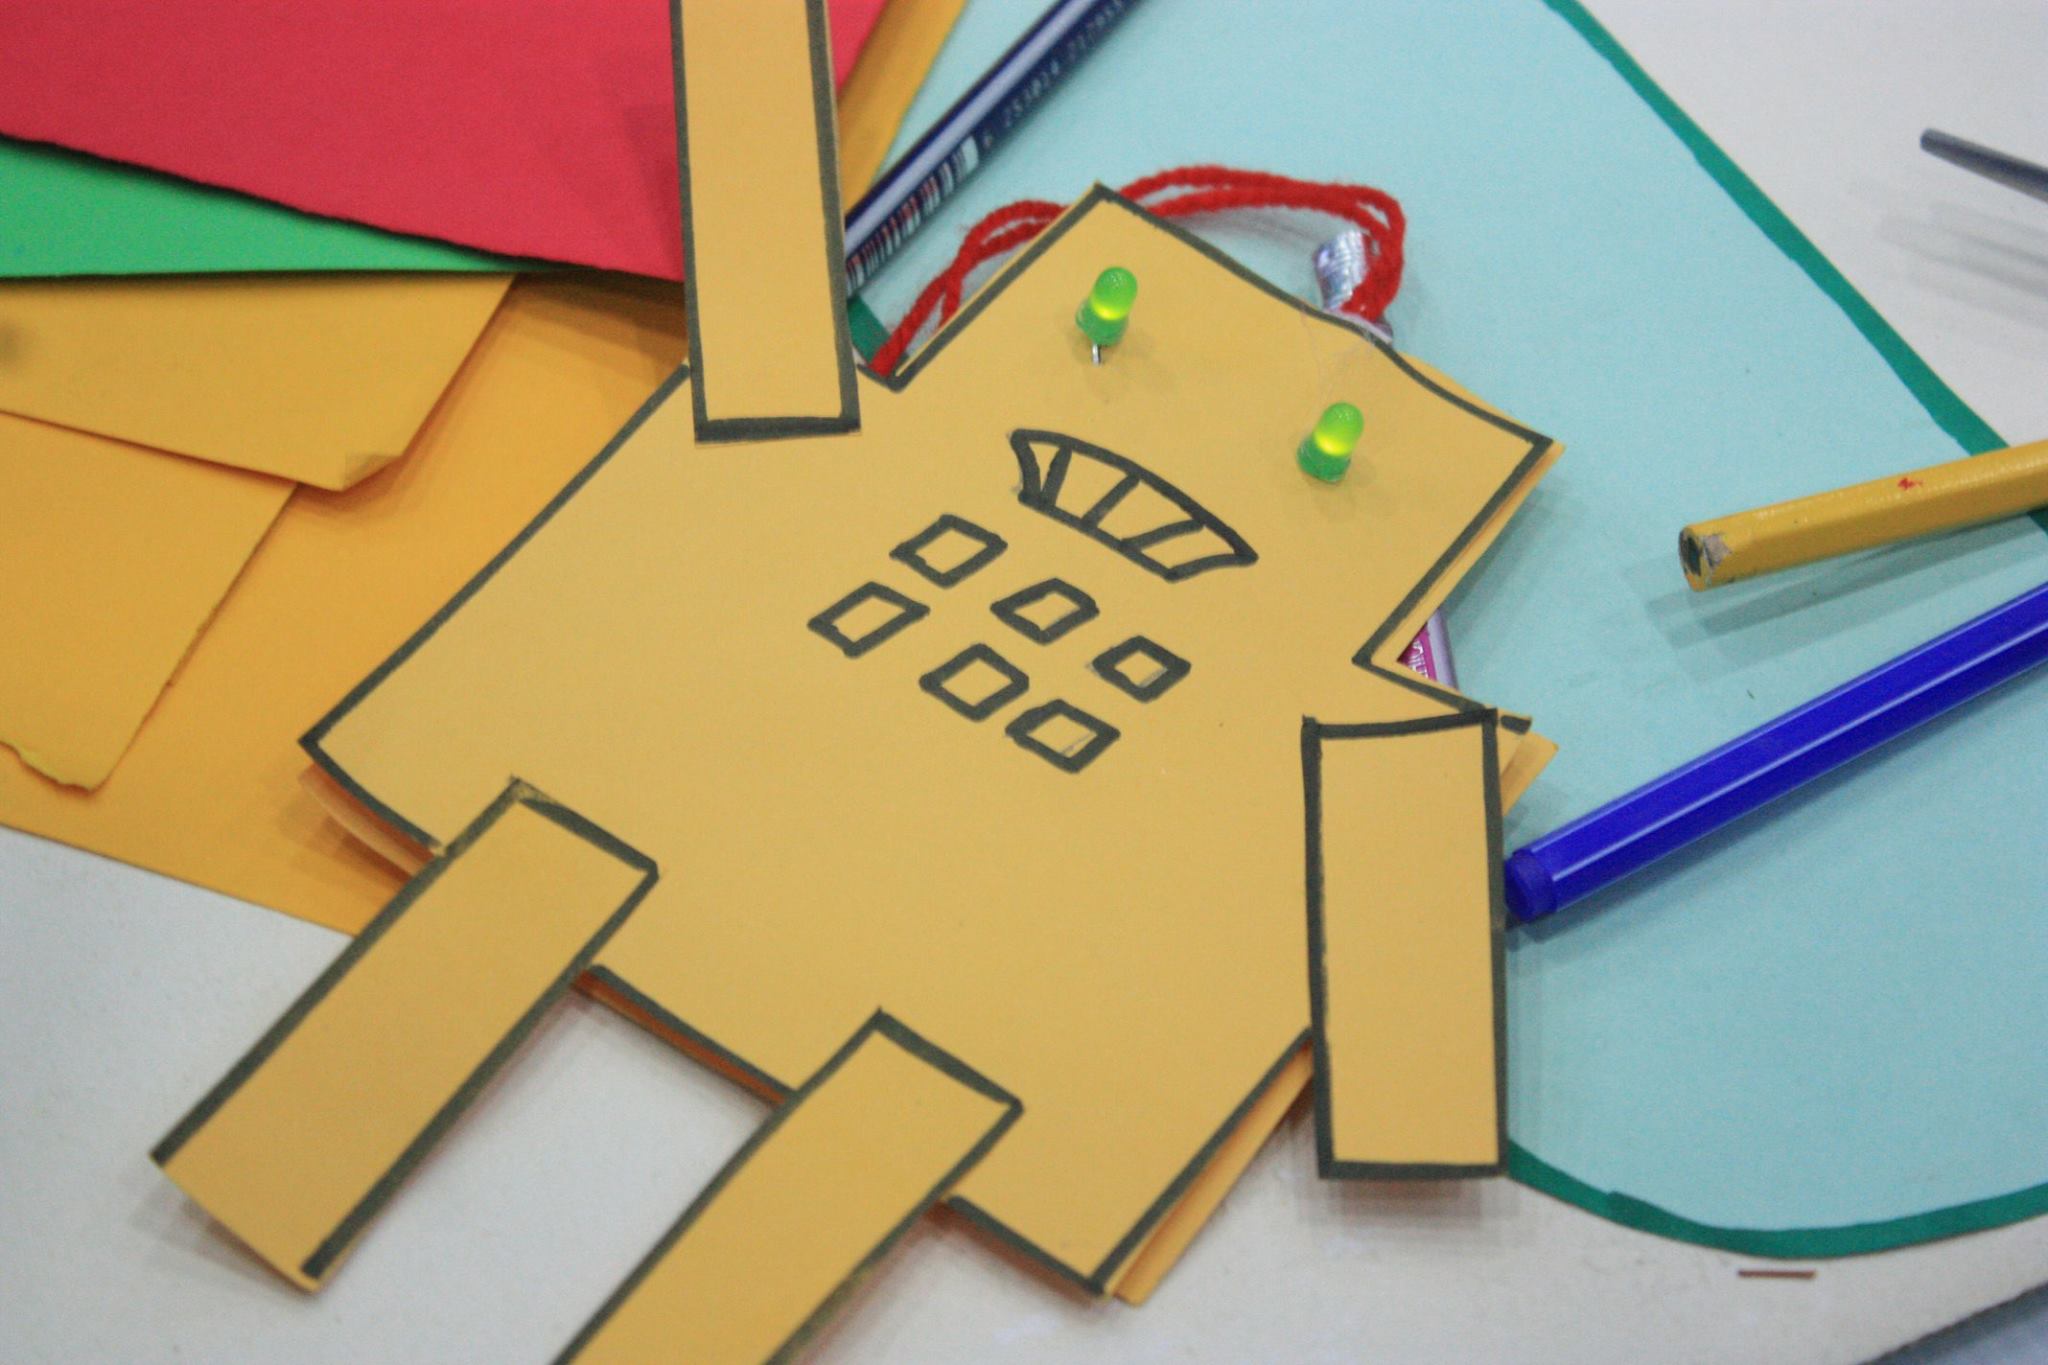
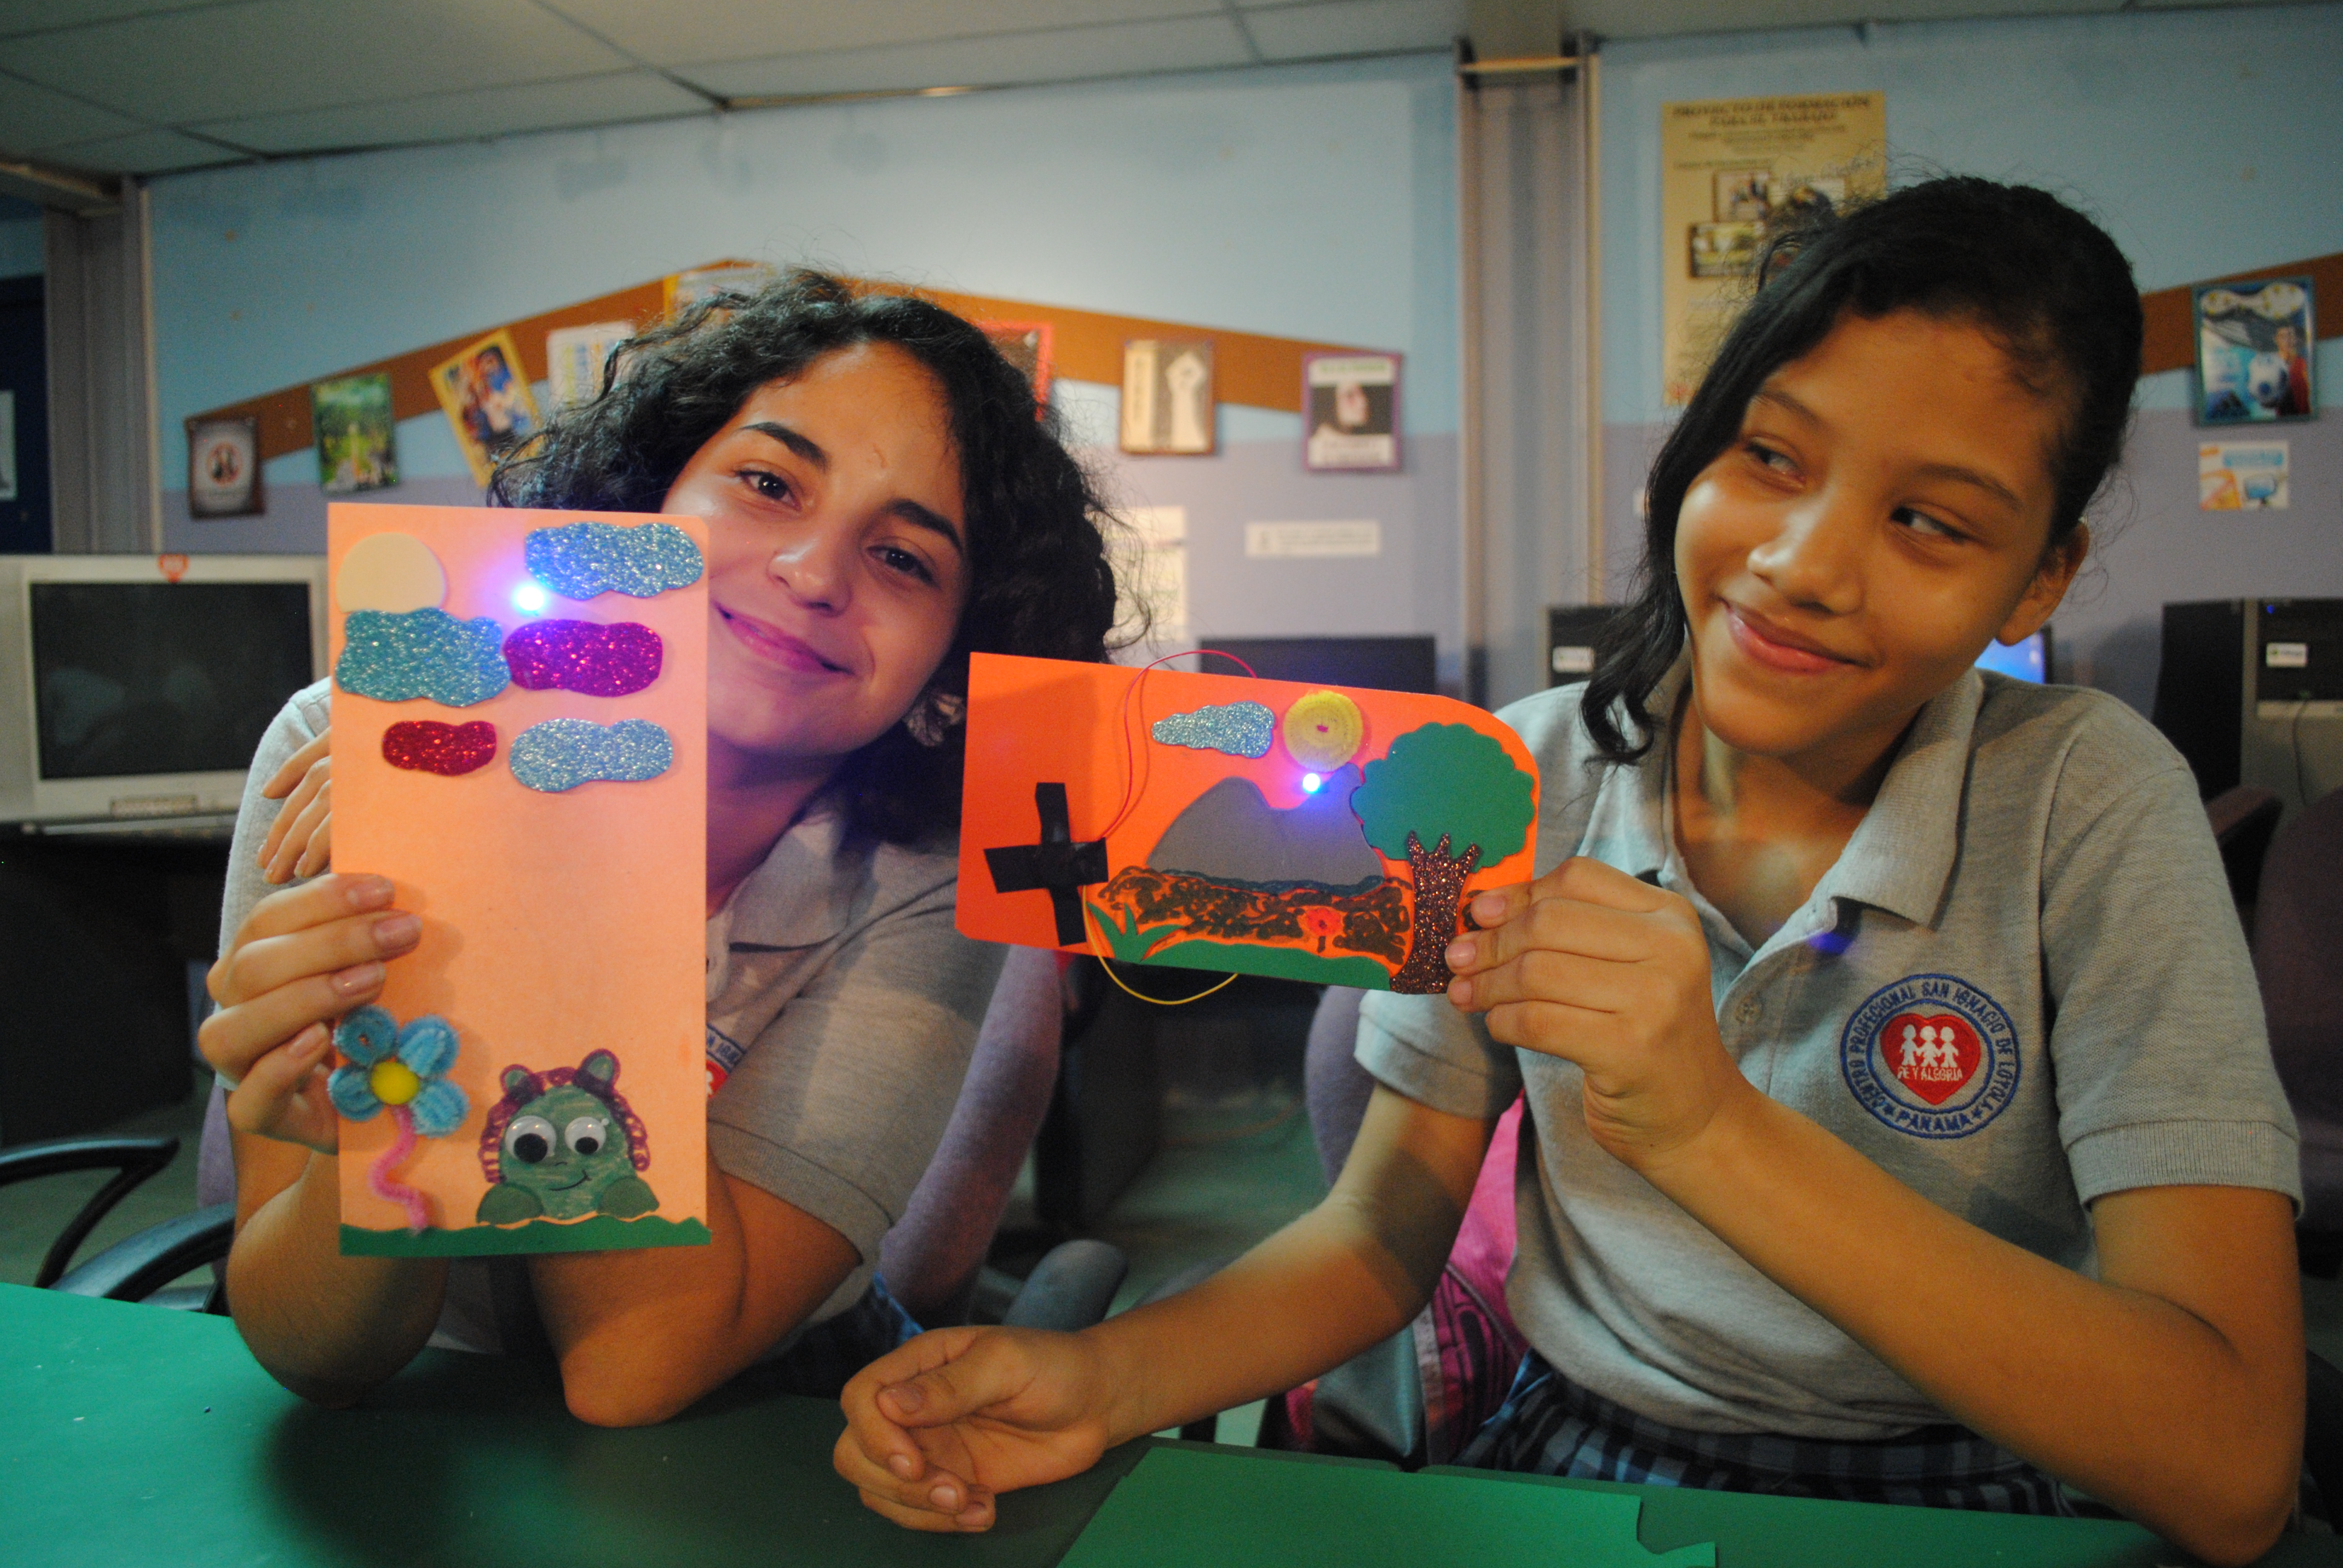
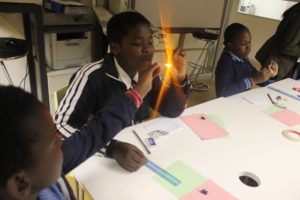
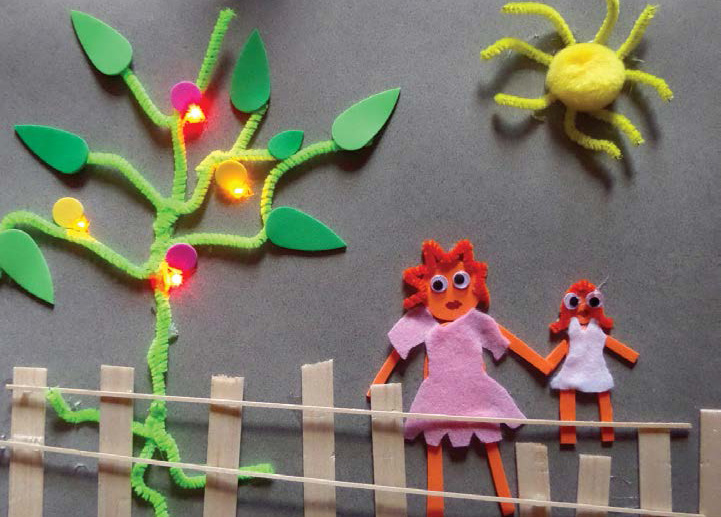
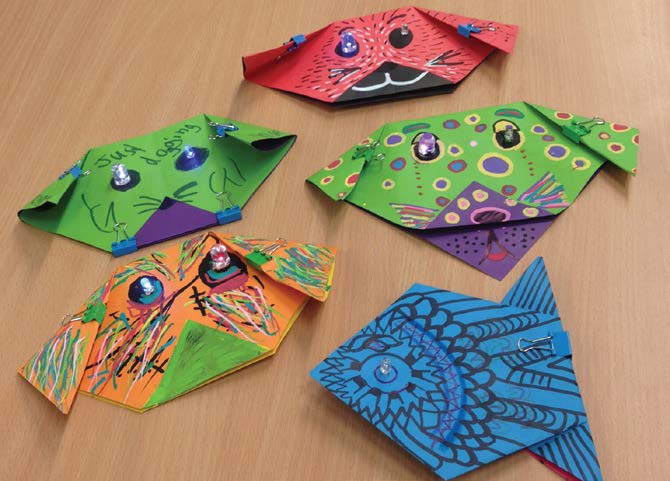
Look at these inspiring light-up paper based projects designed by makers around the world. You can also share your projects and experiences with other maker campers.

Now that you’re finished making with paper circuits, share your projects with other campers on our Google+ community and your other social media sites, always using #MakerCamp!
Please Note
Your safety is your own responsibility, including proper use of equipment and safety gear, and determining whether you have adequate skill and experience. Power tools, electricity, and other resources used for these projects are dangerous, unless used properly and with adequate precautions, including safety gear and adult supervision. Some illustrative photos do not depict safety precautions or equipment, in order to show the project steps more clearly. Use of the instructions and suggestions found in Maker Camp is at your own risk. Maker Media, Inc., disclaims all responsibility for any resulting damage, injury, or expense.

Share pictures and videos of your cool build! Be sure to use #makercamp
POST YOUR PROJECTS


